Window Light Portraits at Home: A Step-by-Step Guide for Beginners
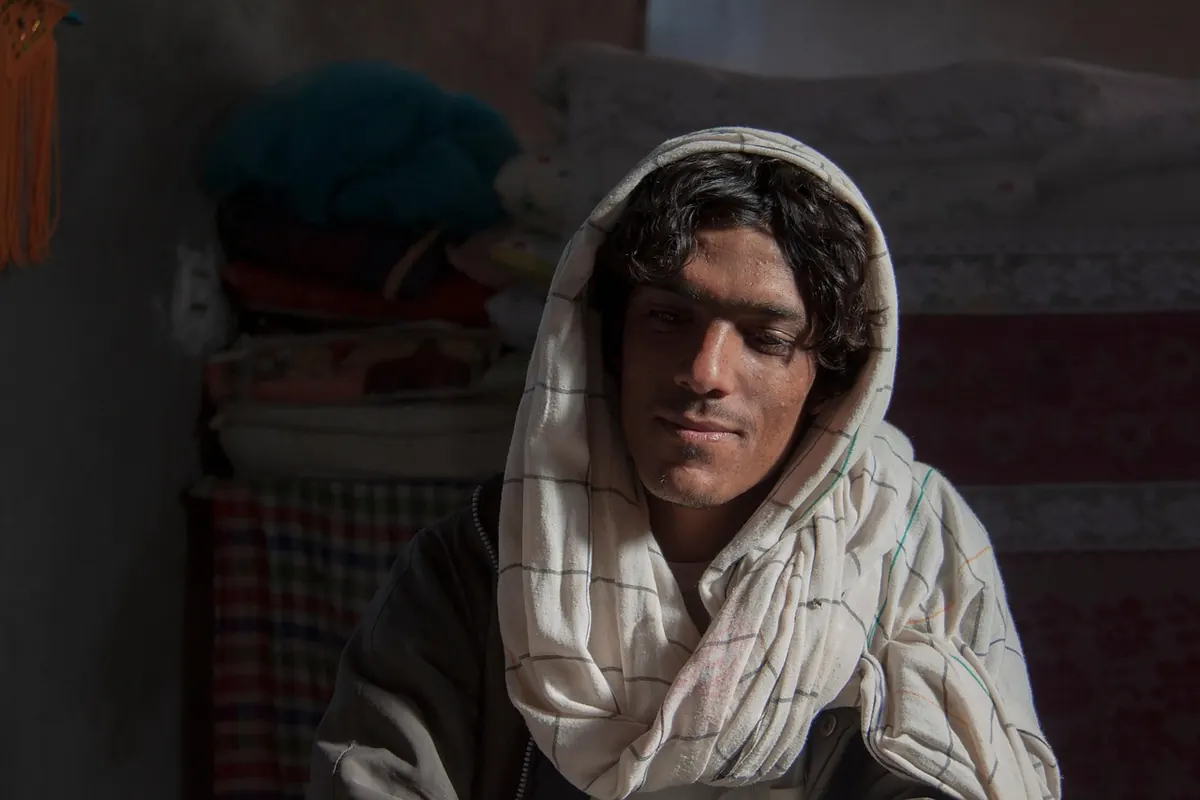
Most people assume good portraits need space, softboxes, and a rented studio. Then they see a photograph made in someone's spare bedroom with nothing but a north-facing window and a bedsheet taped to a doorframe, and the assumption falls apart. A window is a large, soft, directional light source, and that is the whole trick. Everything else — the reflector, the timing, the placement of a chair — exists to make that one light behave a little better.
What follows is the setup from scratch, using a camera you already own and about twenty minutes of daylight.
Why a Single Window Beats a Pile of Gear
A window is big. Compared with the flash on your camera — a tiny point of light that throws a hard, flat shadow — a window is enormous, and the bigger the light source relative to the subject, the softer the edge between highlight and shadow. That softness is what most viewers read as professional, even if they could not say why.
It is also directional. Light enters from one side, falls off gradually across a face, and gives it shape. Add a second light too early and you flatten that shape out. The best home portraits are usually made with one window and something white to bounce a little light back, not with three lamps arguing.
Set the Scene in Ten Minutes
Choose the room with the largest window and the least clutter behind it. Clear about two metres back from the glass — that is where your subject will sit or stand — and push furniture out of the frame rather than rearranging the room. Check what the camera sees, not what you see standing upright.
Turn off the ceiling light and any lamps. Mixed color temperatures, warm bulbs against cool daylight, are awkward to fix later and rarely look intentional. If the walls are dark, pin a large white card or sheet opposite the window; a pale wall does the same job for free.
Where to put the subject
Start roughly one to one-and-a-half metres from the window, angled about forty-five degrees to the glass. That gives light wrapping around one side of the face and a gentle falloff on the other. Closer, and the light gets brighter but smaller and harsher; further back, and it softens, but you lose brightness and the background starts to compete.
Read the Light Before You Raise the Camera
Stand where your subject will sit and look at the window. Notice the shape of the light on your hand. Then choose one of three setups.
Side light
Subject parallel to the window, face turned slightly toward it. One cheek lit, one in shadow, a soft edge between them. Good for adults, good for mood, unforgiving if focus lands on the wrong eye — always focus on the eye nearest the glass.
Front light
Subject facing the window. Even, friendly, almost shadowless. Lovely for children and for anyone who dislikes being photographed, because there is nothing to hide from.
Backlight and rim
Subject between you and the window. Expose for the face and let the glass blow out to white, or step back so a slice of the frame glows. Watch for flare, and check the eyes are not lost in shadow — a white wall behind your shoulder can rescue them.
Reflectors You Already Own
You do not need to buy anything. Look around the house first.
- A white foam board or a sheet of A2 card. The most useful object in the room. Place it opposite the window, angled toward the shadowed side of the face, about an arm's length away.
- A white bedsheet. Hang it or drape it over a chair. Bigger and softer than card, with a gentler bounce.
- A grey or beige wall. Bounces less light than white and adds a subtle warmth. Useful when a face looks too bright.
- A black jacket or dark towel. The opposite of a reflector: it absorbs light and deepens shadows when you want more contrast.
- A mirror. Powerful and hard to control. Use it only if the shadow side is badly underexposed, and angle it at the ceiling rather than straight at the face.
Move the reflector in small steps and watch the shadow side of the face, not the highlight. The change should be subtle. If you can see two light sources, it is too strong — pull it back.
Timing: The Quiet Detail That Changes Everything
Window light is not the same at eight in the morning and four in the afternoon. Direct sun through glass is hard and patchy, so aim for the hours when the sun is not facing that window, or wait for a thin overcast day, which turns the sky into one large softbox. The window's orientation matters more than the clock.
Test it in ten seconds: hold your hand near the glass. A sharp-edged shadow means hard light you will be fighting. A soft, barely-there shadow means you can shoot now.
Winter light sits lower and reaches deeper into a room than summer light, which often gives warmer, more flattering results. If sun is streaming in, hang a sheer curtain over the glass. Cheapest diffuser you will ever use.
Camera Settings Without the Guesswork
Use aperture priority and open up — f/2.8 or f/4 on most kit lenses, f/1.8 if you have a prime. That blurs the background so a radiator or a bookshelf stops being a distraction.
Set ISO to 400 and let the camera pick the shutter speed, but watch it: below about 1/125s, small movements start to show. Raise the ISO to 800 if you need to. A slightly noisy sharp frame beats a clean blurry one.
Metering is where home portraits usually go wrong. If the window is in the frame, the camera reads all that brightness and darkens the face. Move the window out of the shot, or dial in exposure compensation of +1/3 to +1 stop until the skin looks right. Trust the screen, not the numbers. Focus on the near eye with a single point, and shoot several frames of each pose — expressions change fastest of all.
Directing People in a Small Space
Give people something to do with their hands: a mug, a book, a jacket collar, a child's toy. Hands with nothing to hold find awkward places.
Ask for small adjustments rather than poses — “turn your chin a few centimetres toward the window”, “lean forward from the waist”, “look at the corner of the frame, not at me”. Then wait. Good expressions usually arrive two or three seconds after a posed smile fades, so keep shooting through the pause.
Shoot at eye level or slightly above. Standing over a seated subject flatters almost no one. In a tight room, sit on a stool or kneel.Photo: mostafa_meraji / Pixabay